The workshop, aka the Aircraft Factory.
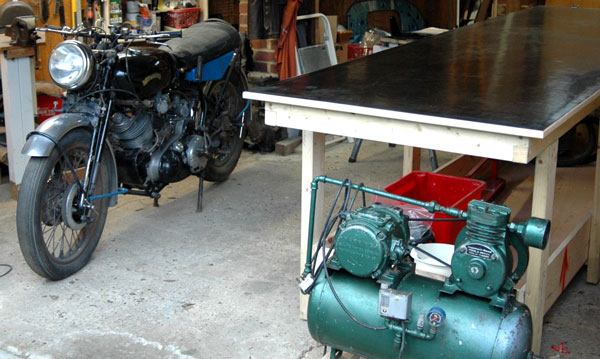
Banner photo shows previous occupants!
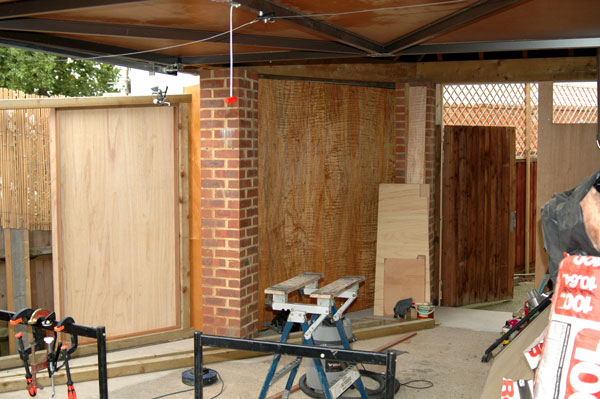
The workshop started life as a fancy brick pillared tiled roof carport. Just shows what you can do with sheets of 12mm exterior ply, 7cm square treated
fence post timber, polycarbonate roofing, damp proof plastic membrane, left over insulation, screws, and a bit of concrete. Plus an up and over garage door,
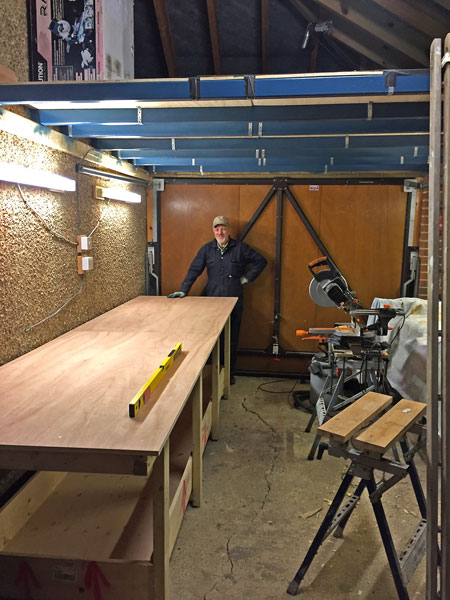
then some 50mm square box section steel and more 12 mm ply to build a mezzanine storage area.
After we had unpacked inventoried and put away all the parts of the empanage kit, we got to work building the worktable utilising the shipping crate
for the lower shelf area of the table. The top was covered in Polymax PROTEK rubber sheet, 1.4m wide x 3mm thick with 1 layer of fabric, 4 metres at £16.37 per metre ex VAT & carriage,
ordered directly from Polymax. The rubber top has proved very durable, and swarf is easy to brush off. Cost is comparable
to carpet, possibly a little cheaper, but we thought bits of swarf would be easily caught in the carpet pile.
Download Worktable Plan here!
Download Worktable 3D Drawing here!
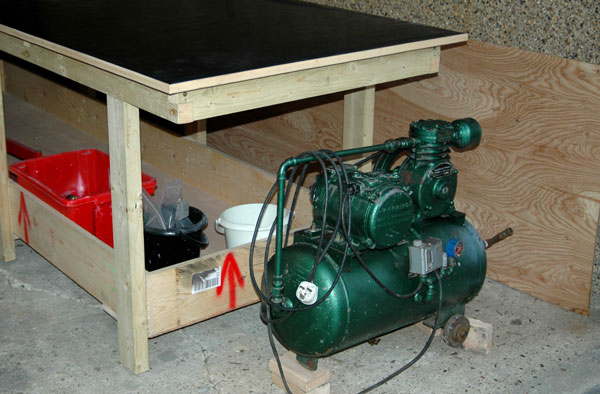
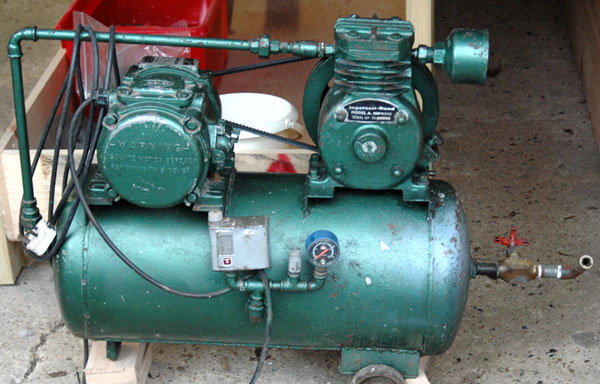
Compressor.
We went the vintage route for the compressor, bought off ebay for £50. It is an Ingersoll-Rand Model A dating from the 1950s I think, with a slightly more modern tank of 45 litres.
It is moderately quiet, not being able to be heard in the house, and only requiring slightly raised voices to converse. More of a comforting thump thump thump.
It does sound good when it stops though. It has no trouble keeping up with the pop-riveter and the air drill. It will keep the spray gun going just long enough to spray primer on the
inside of the fuselage skins. The spay gun is a 60s vintage Arnold/DeVilbiss, very good quality when bought new by my grandfather. The cut out/cut/in control does not work,
so it needs keeping an eye on to turn it on when the pressure drops below 80 psi, and off when it gets to about 110 psi. It needed a little maintenance, consisting of
taking the head off it and cleaning out the rust flakes so they did not get in the way of the reed valves, and dismantling and cleaning the water drain valve,
so we can get the water out of the tank. This needs doing especially before connecting to the spray gun, to minimize water vapour in the spray paint, and to ensure that the tank
does not rust through from the inside. So far, very good value for money. We are using Lechler Technogrip to prime, so just require the 3M vapour proof respirators.
The compressor would not cope with providing an air supply as well as driving the spray gun.
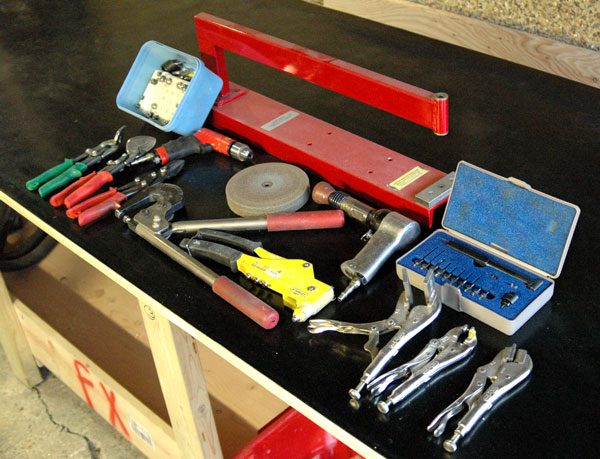
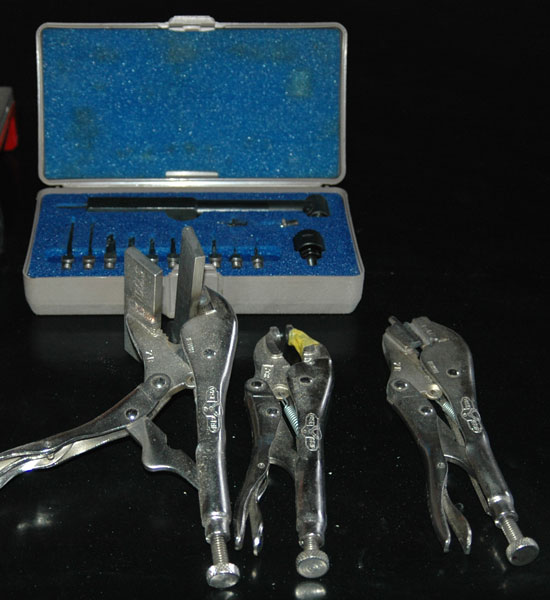
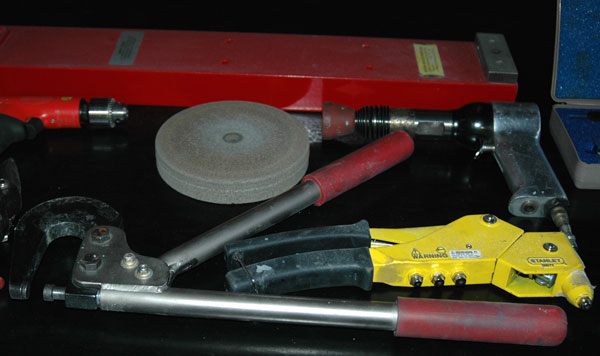
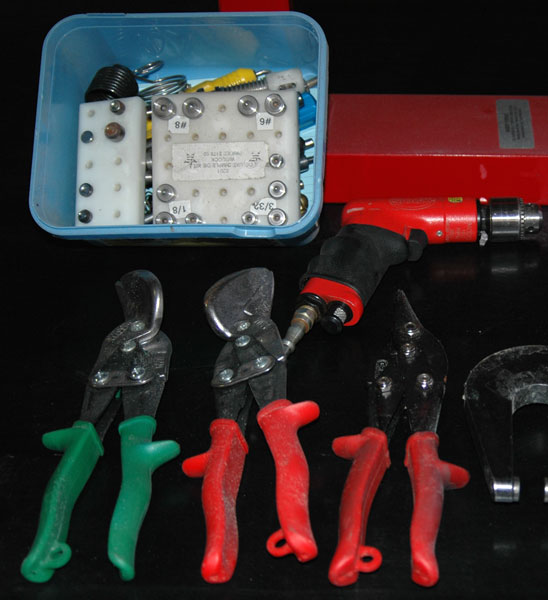
Tools.
The tools were purchased as a second hand job lot from someone who had just finished building an RV9. This represented a considerable saving over purchasing new. The downside was that, as
the RV9 is constructed using mostly solid rivets, and the RV12 using mostly pop rivets, we ended up with an air driven solid rivet gun and a selection of bucking bars, and only a hand pop
riveter. The RV12 does use some solid rivets (over 400 of them apparently) so all is not lost. An air driven pop riveter is essential for the RV12 and ours
(Draper 33746 4296K Air Riveter Kit In Case) was purchased new from Lawson HIS Tools for £77.68 ex VAT.
Woodies Aircraft Factory