http://www.woodiesaircraftfactory.co.uk> Rear Fuselage
Construction of the Rear Fuselage.
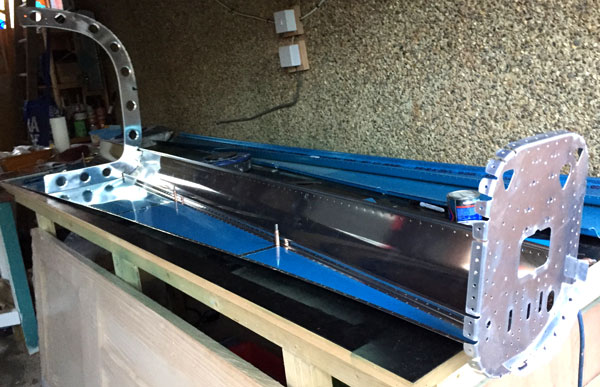
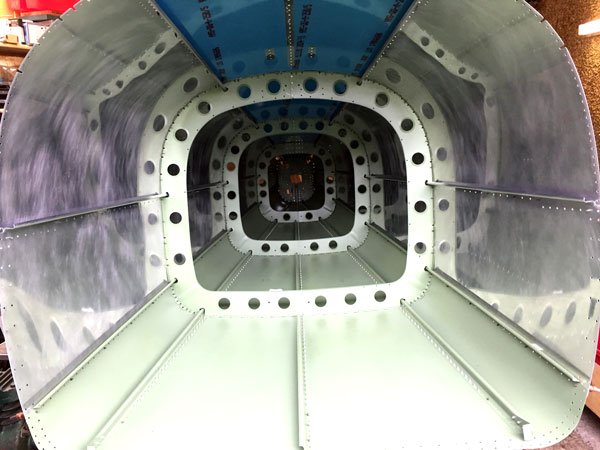
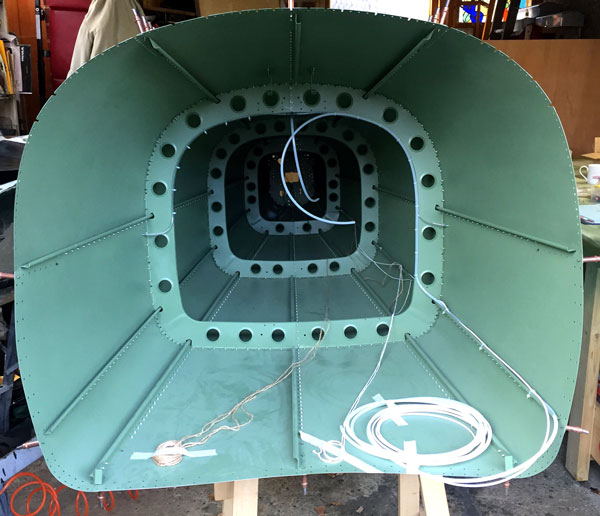
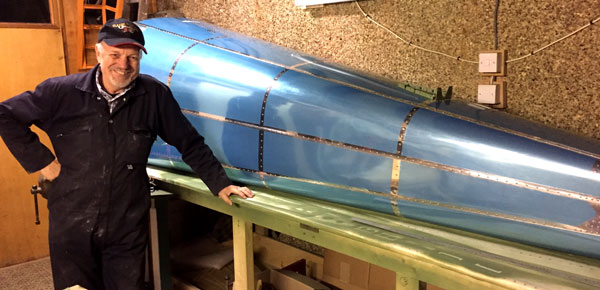
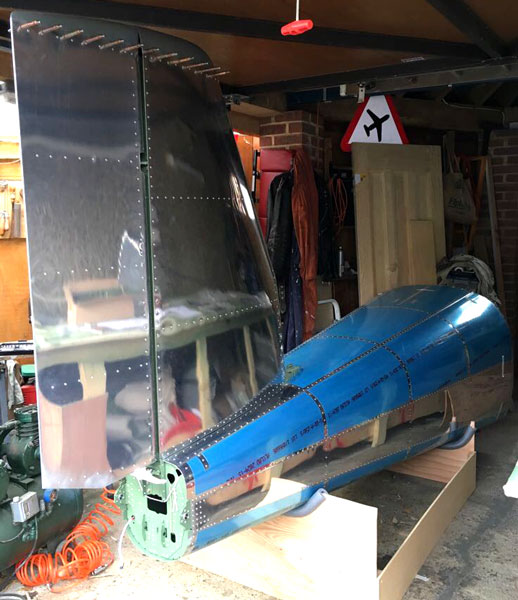
The VANS Tail Kit includes the rear fuselage cone all the way up to where the cockpit/canopy area begins.
The VANS Tail Kit includes the rear fuselage cone all the way up to where the cockpit/canopy area begins.
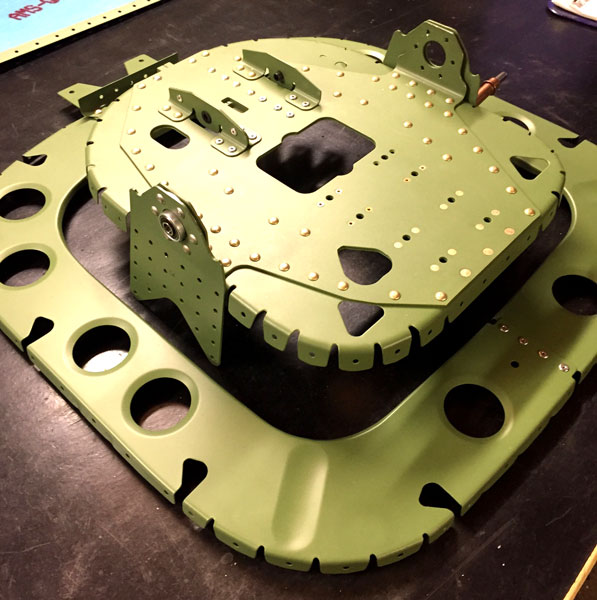
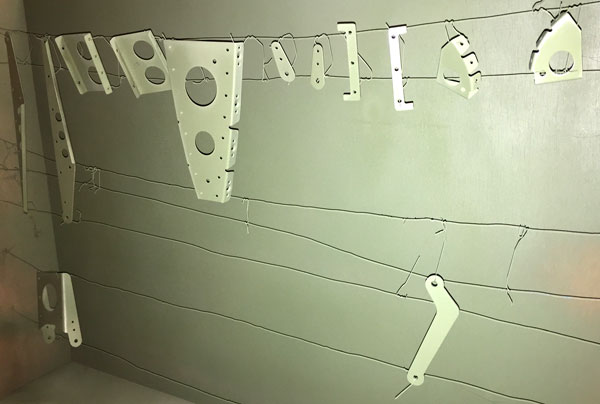
Not shown in any of the photos is the tailskid, which had to be fabricated from raw aluminium extrusion, and is riveted to the front of the rearmost bulkhead. We had to procure a 5/16" drill bit and a 3/8 x 16 UNC tap (Volkel 3/8-inch UNC HSS Tap (Set of 3) from Amazon) to complete the tailskid fabrication. Also, ensure that when you match drill F-1211C-L & R Hinge Brackets, VA-146 Flange Bearing, and F-1211 Bulkhead Assembly, make sure that you do not overlook the clecoes that align the Hinge Brackets with the side flange of the Bulkhead Assembly.
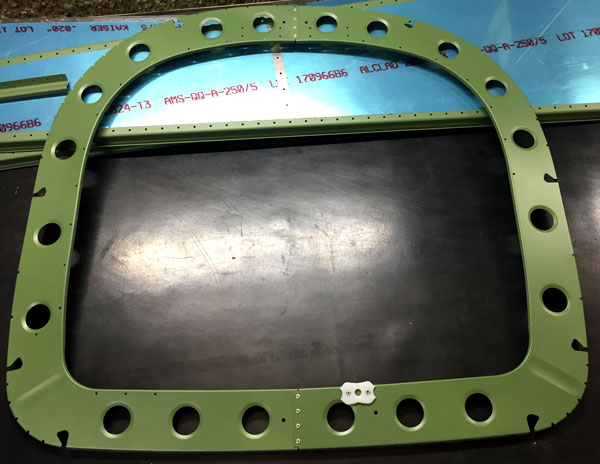

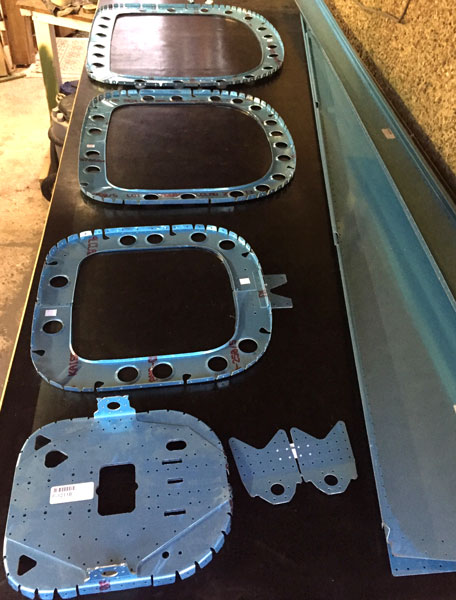
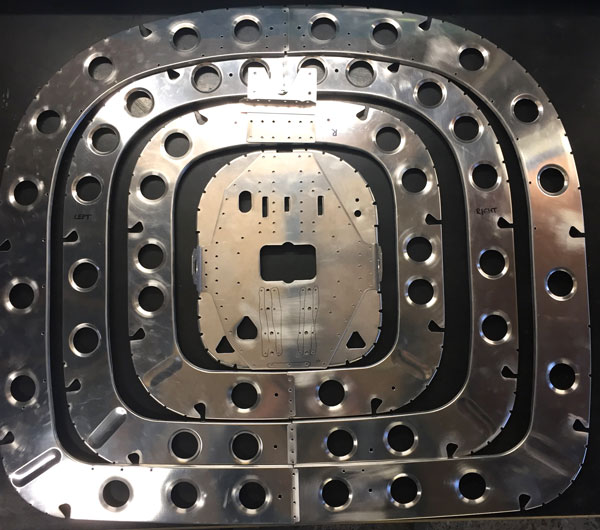
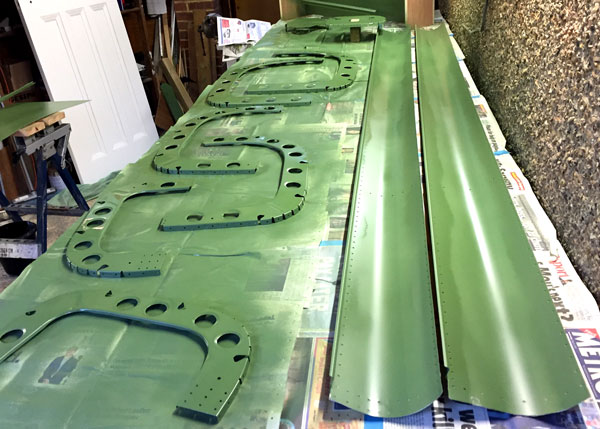
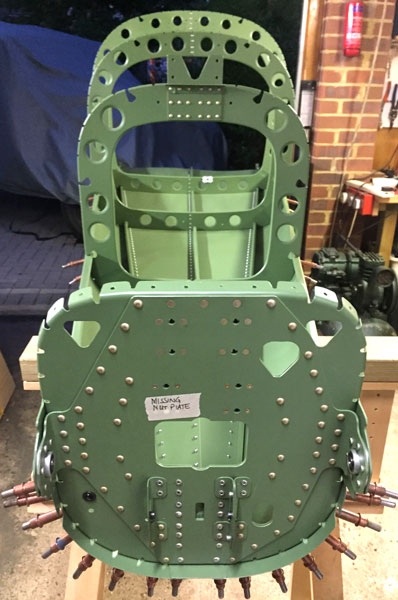
You can see from the photograph showing the frame with the nylon wear piece riveted on, that we also masked out the outside of the fuselage skins and used a rattlecan to prime the skin where it would be overlapped by the adjoining skin. I would recommend removing all the blue protective coat before riveting the skins to make sure that none of it gets inadvertently trapped between the skins because you haven't gone quite far enough when removing strips with your soldering iron. We also drilled out the rivets used for attaching the nylon wear plate and replaced them with suitable sized screws, washers and nuts, so that when it comes time to turn it over or replace it, the task will be a lot easier. Also check that you have overlapped the tops and bottoms of each frame half the correct way. We got the biggest frame overlapped differently to all the rest and had to drill out the four top rivets and re-rivet.

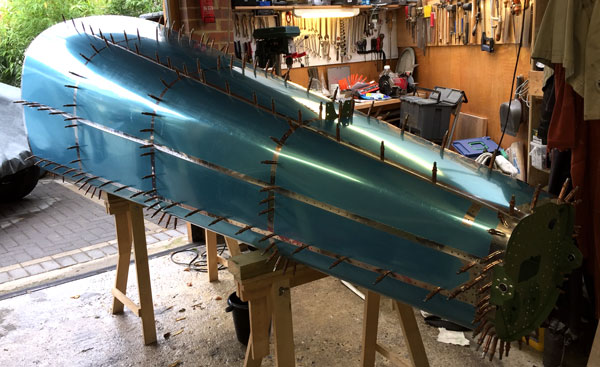
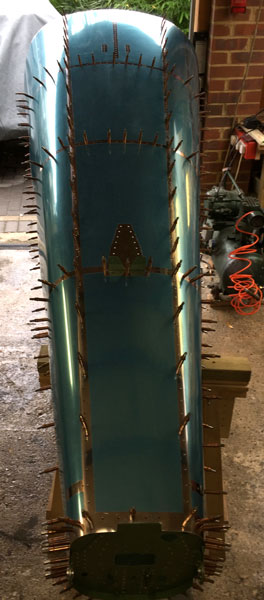
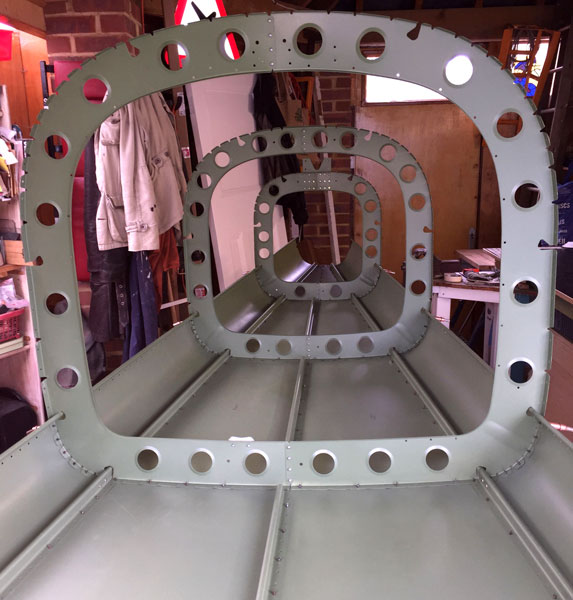
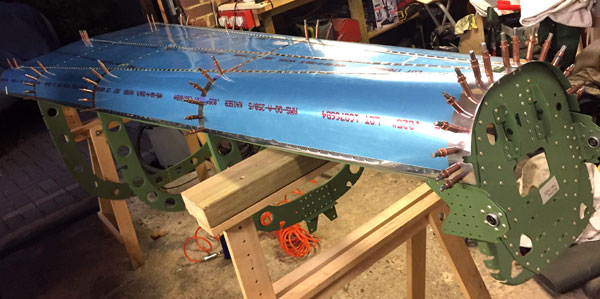
When riveting the skins on make sure you do not rivet holes that will be required to rivet the next section of skin on. Masking tape is a good way to mark the holes that you do not want to rivet.

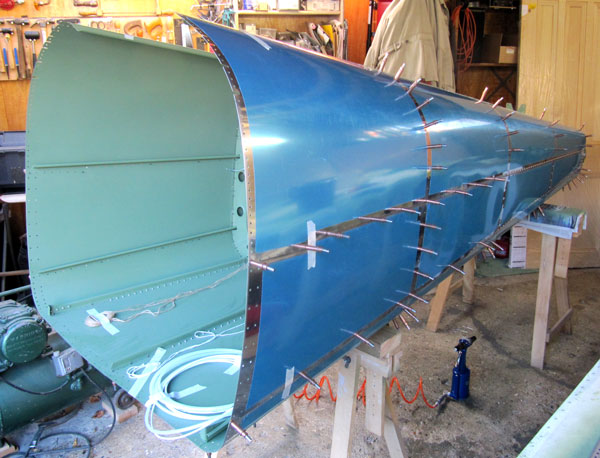
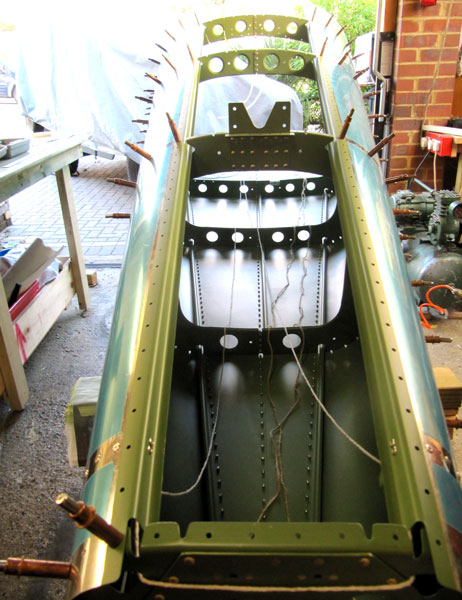
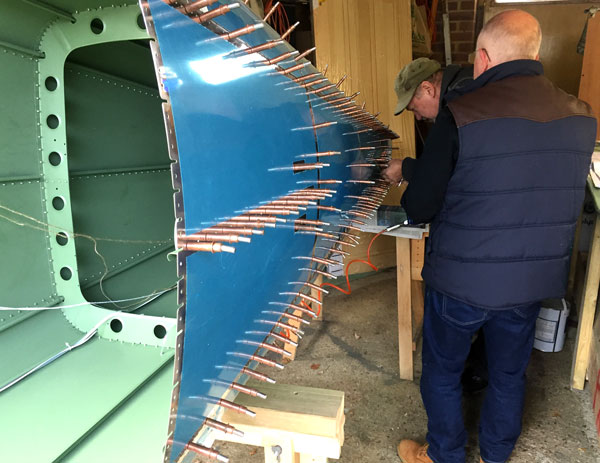
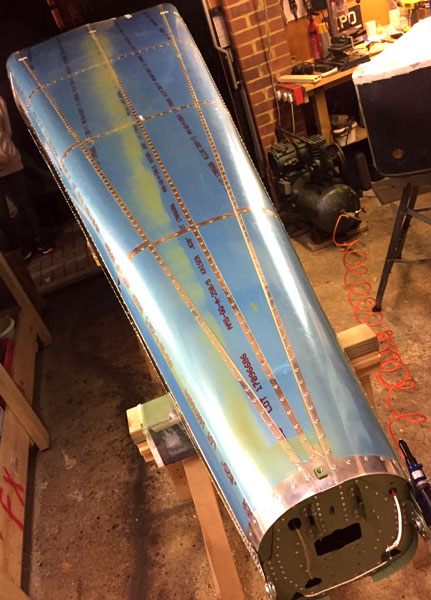
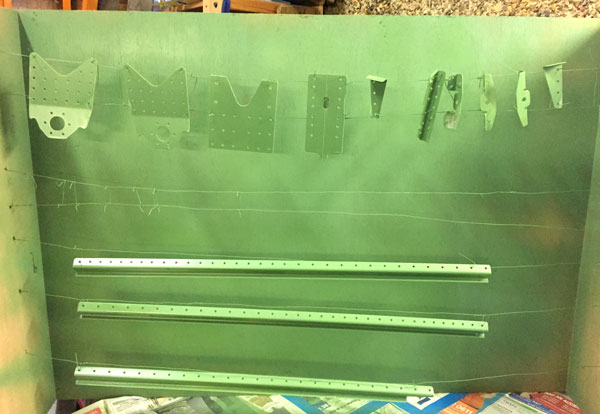
All rivet positions were clecoed to ensure that everything was perfectly positioned before riveting commenced, as this is essentially a self jigging construction.
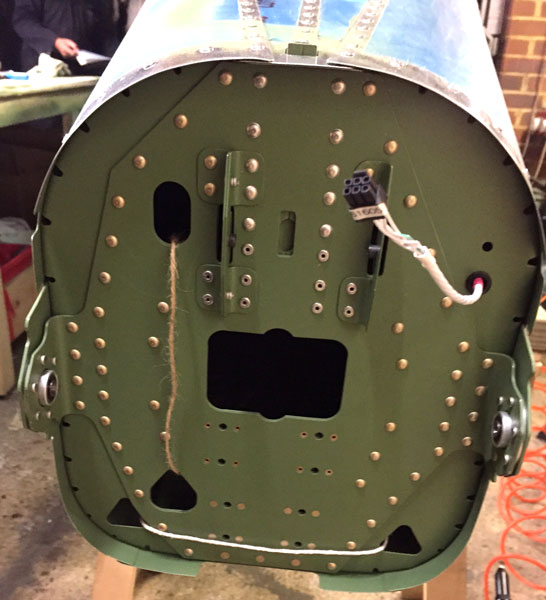

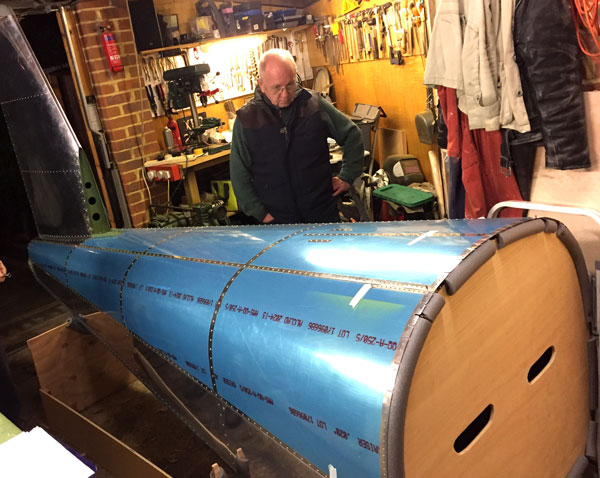
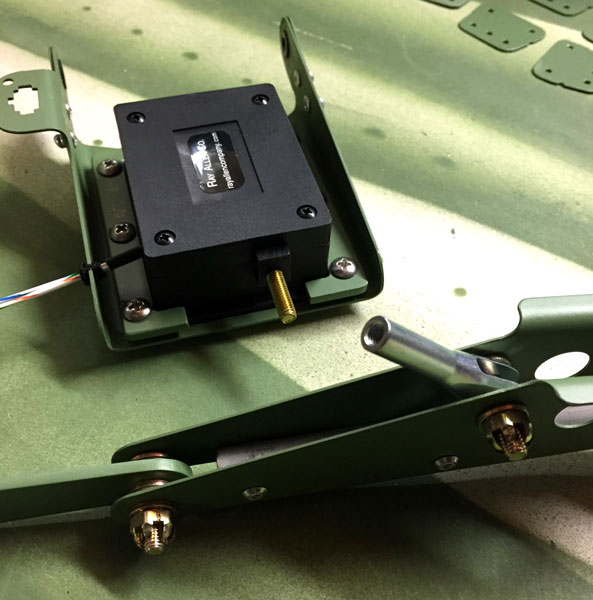
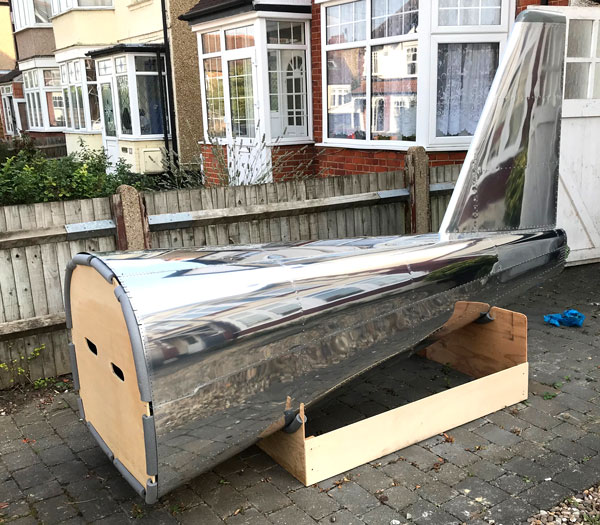
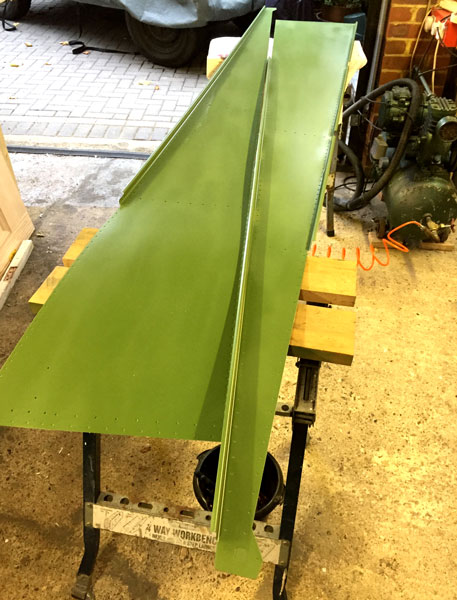
While bolting the lower rudder hinge bracket on, it was noticed that 10 rivets that attach the rudder spar to the spar stiffener at the bottom were missing. A hand pop riveter could be used, and the rivets were successfully set at this stage, but it just goes to show how important it is to check every stage off and mark up the build plans when completed. Six or seven fittings were required between sanding and fileing the fiberglass fin and rudder tip fairings to get the fit right (1/8 inch gap all round) before they were riveted in place. The trim servo was then mounted on the mounting plate assembly, and the actuating mechanism was riveted together and assembled with the rod ends etc. It was very difficult to set the two long rivets (AN470AD3-9) used to attach the threaded insert to the pushrod, and after drilling out a few rivets that bent during the squeezing process, we got out the large C-frame, which allowed us to line up everything absolutely vertical before setting the rivets with a hammer. Worked first time every time. The last job was to make the plywood support cradle that will hold the rear fuselage securely in a neighbour's garage until it is time to take it all to an airfield and assemble it to the front fuselage. At this stage the opportunity was taken to build a cradle to hold the tailplane (Horizontal Stabiliser), as this will also be stored in the same off site garage. 12mm plywood, and pipe insulation from B&Q were used to construct the cradles. Some time after we completed the rear fuselage we made the decision to strip away all the blue plastic, so there was no chance for any moisture build up under the plastic to cause corrosion. We were a bit tight on clearances, so had to spend some time teasing bits of plastic from under the overlaps.