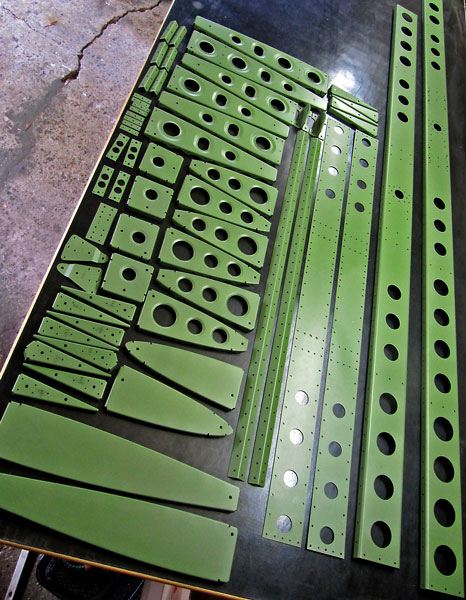
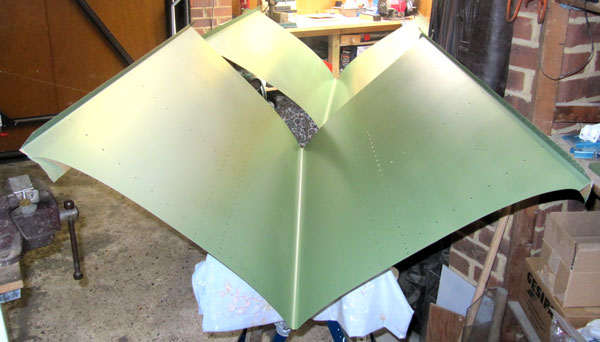
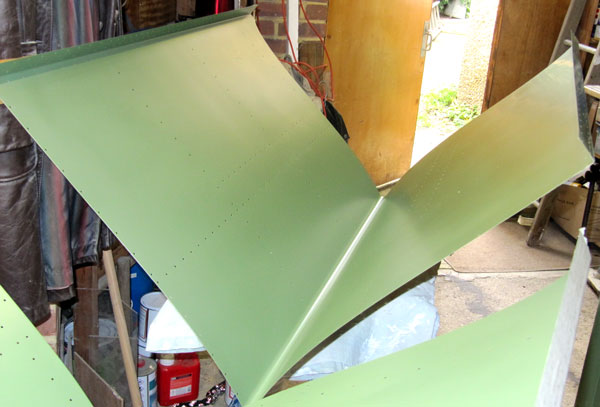
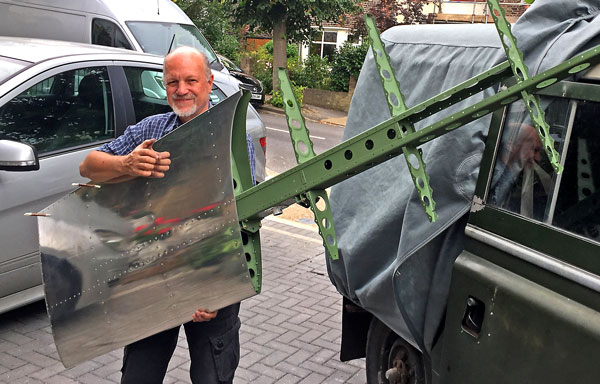
Construction of the Horizontal Stabiliser (Tailplane).
The Horizontal Stabiliser on the RV12 is an all moving tailplane hinged at the front which does the job of the elevator as well. There are two small elevator
like tabs at the back of the stabiliser which move in the opposite direction to reduce forces on the control column. These are called the Anti Servo Tabs.
We were very excited to start on the construction of this part, because the size and complexity is an order of magnitude greater than the parts we had so far
contructed.
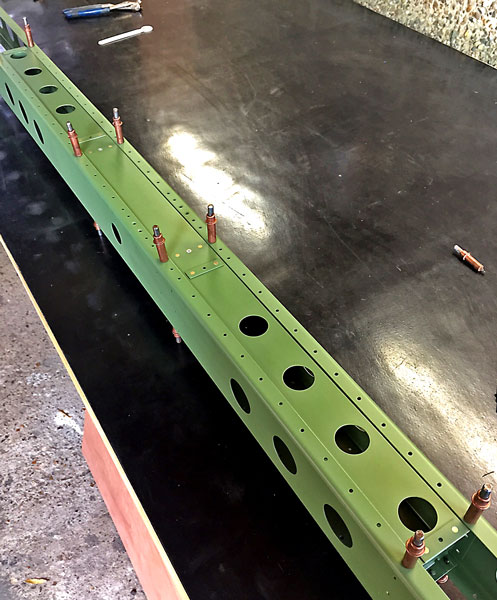
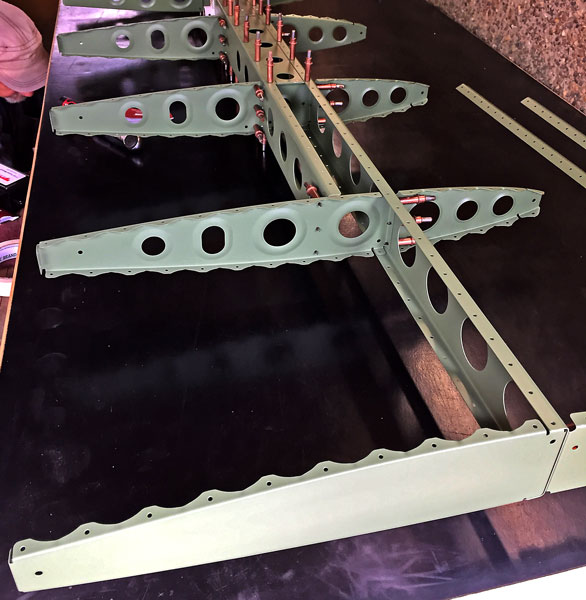
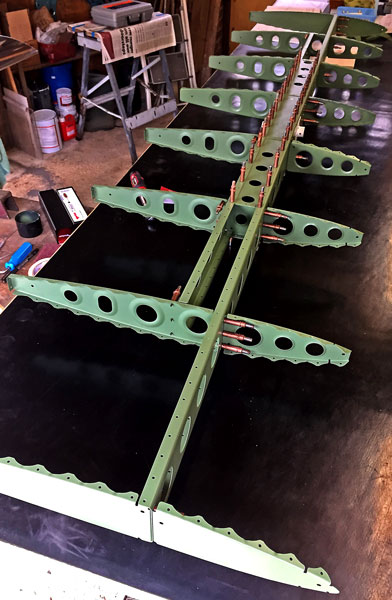
Horizontal Stabiliser/Box Spar. (28 June 2017)
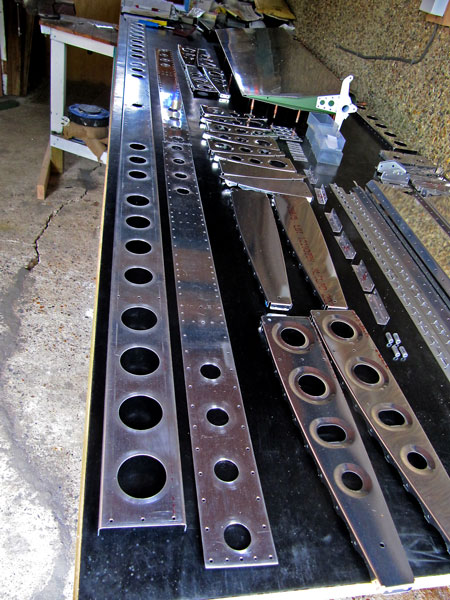
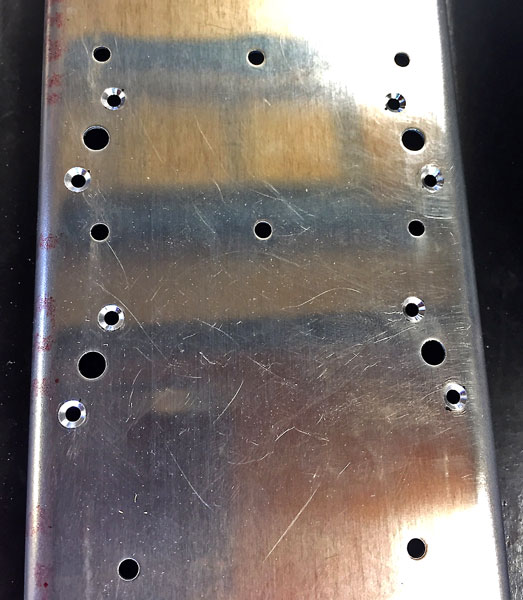
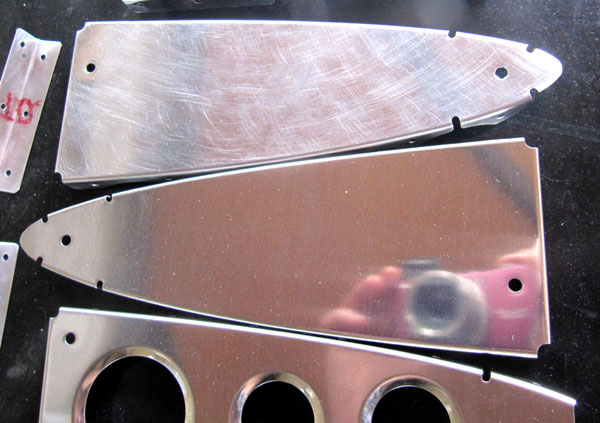
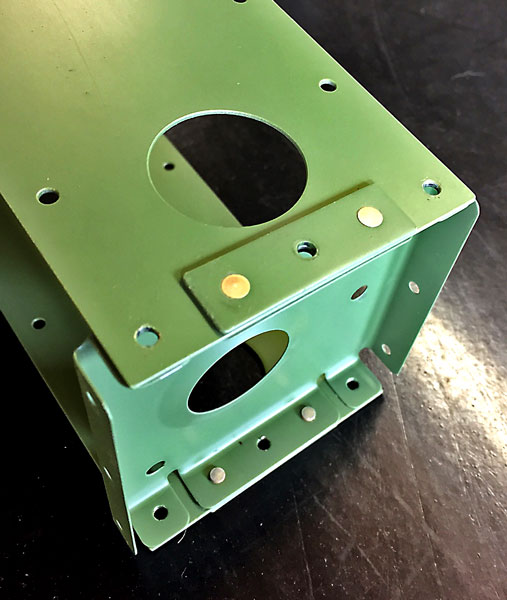
There is quite a lot of machine countersinking on the box spar components, so it is important to practise, and make sure you are happy with the depth setting on
the micro countersink cage, and happy with the pressure to be applied when cutting the countersink, especially when you consider the cost of shipping a very long
component like a spar from the US. We decided as a result to do the countersinks first on the smaller components to increase experience before risking the very long
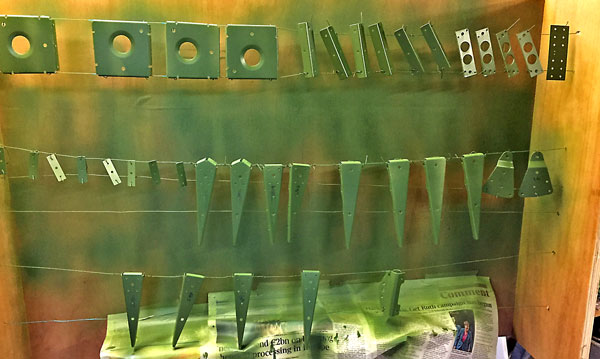
spars.Otherwise, it was many hours spent separating parts, de-burring, match drilling, fluting with the fluting mole grip pliers to straighten the ribs, scuffing with
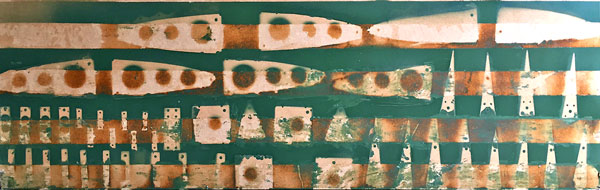
red scotchbright to provide a key for the primer, and de-greasing before we could finally get the spray gun out. The anti servo tab parts were prepared and primed at the
same time so as to make the spraying process as efficient as possible.
We started out trying to stick the smaller parts down with double sided sticky tape to stop the air stream from the big spray gun blowing them around the bench, (or around the garage even).
Problem was the primer did something terrible to the sticky tape adhesive, and we needed copius amounts of thinners to get it off the parts. Upside was that we did create a piece of very nice
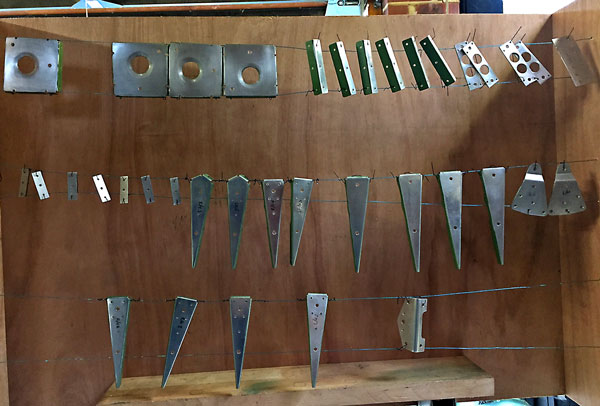
artwork...especially if you are a fan of RV12s, or aluminium aircraft generally! Next attempt was to use the 12mm ply left over from making the workbench top to make a spraybooth with wire
stringers to hang the small parts from. This worked well. The larger parts were sprayed on the bench because they were heavy enough not to be too affected by the air stream from the spraygun.
The primer did not take long to touch dry, so we were able to spray both sides on the same day. We did get some runs in the paint, (not too many), and one side of some of the small parts
picked up dust and grit when they were blown off the bench. These areas were carefully sanded back using fine grade wet and dry, and touched up using the rattle cans in the following few days,
allowing enough time for the paint to cure properly before sanding it.
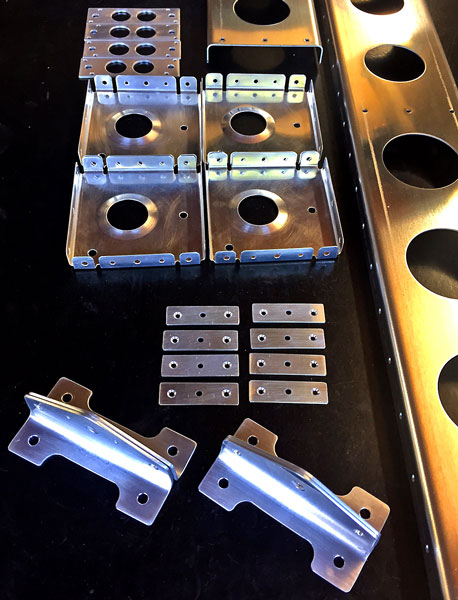
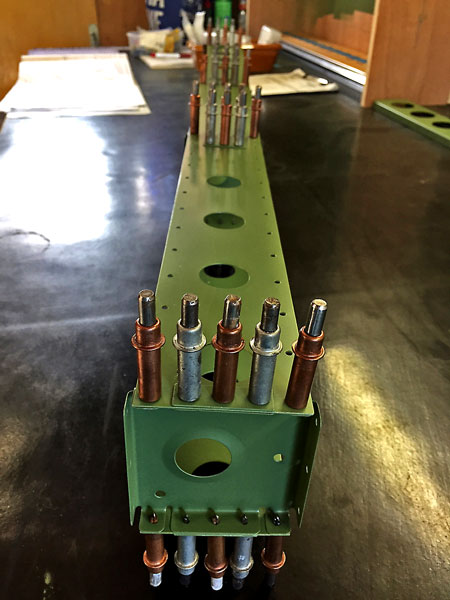
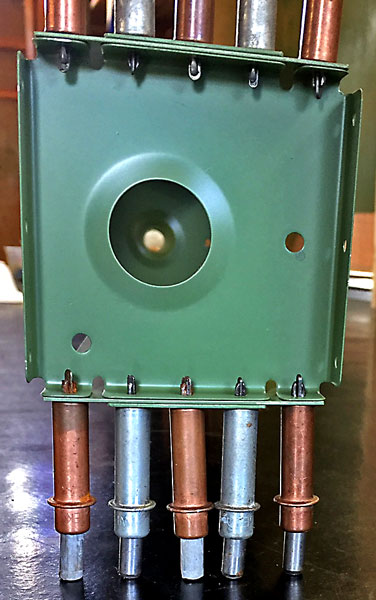
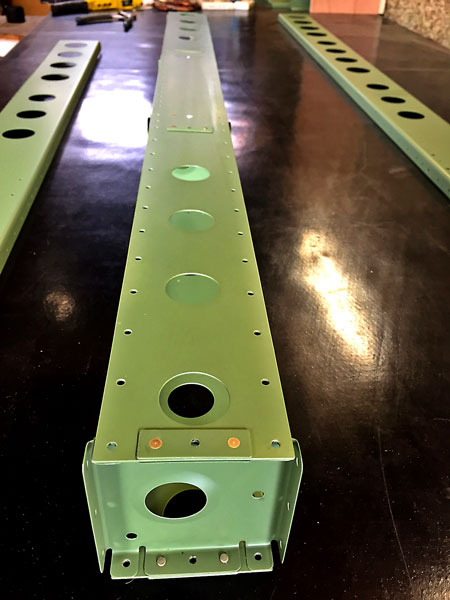
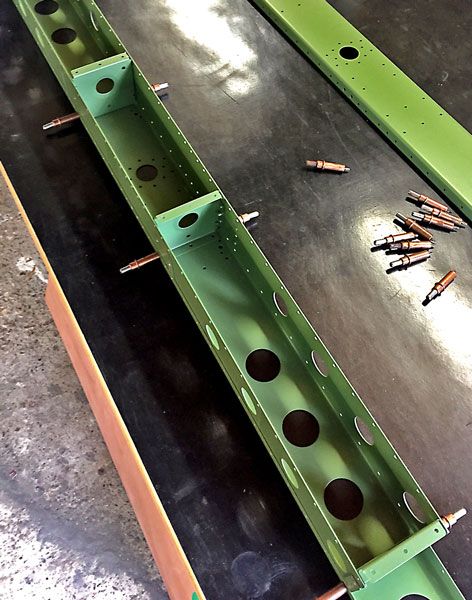
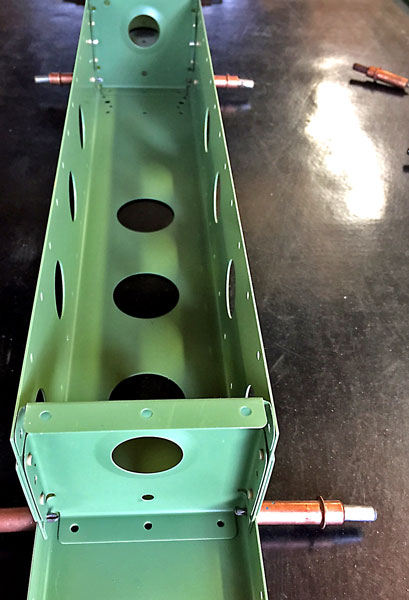
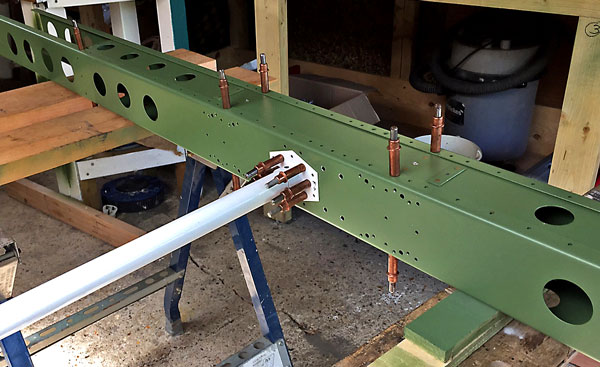
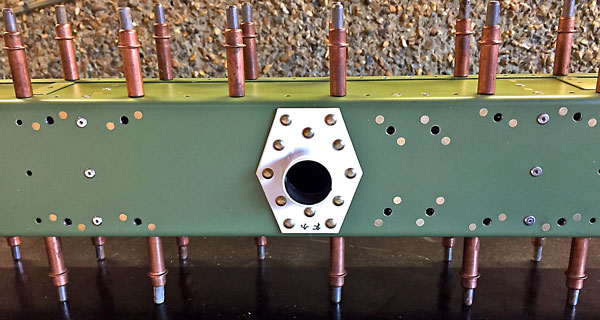
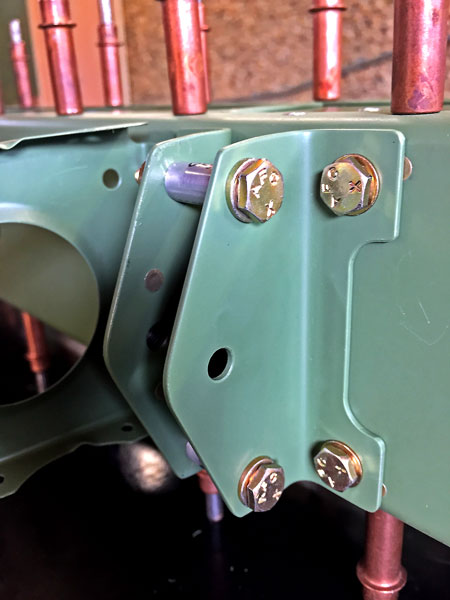
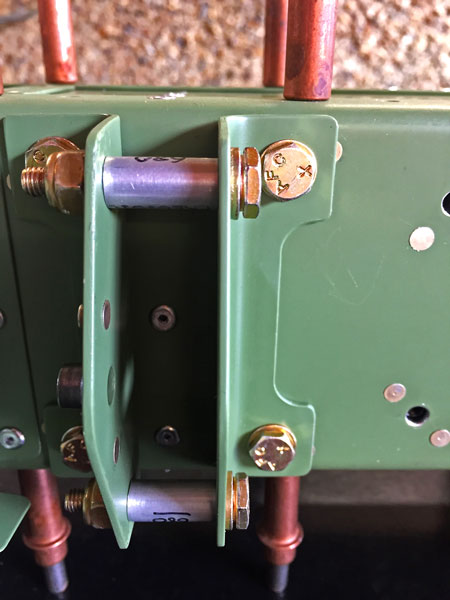
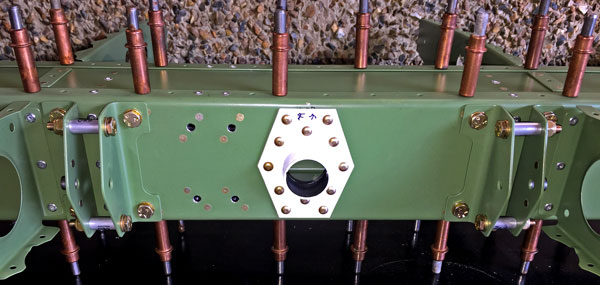
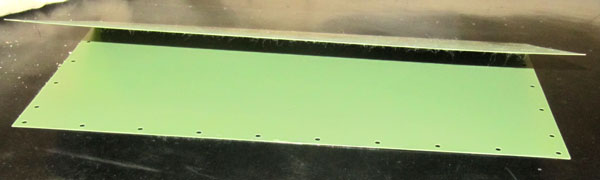
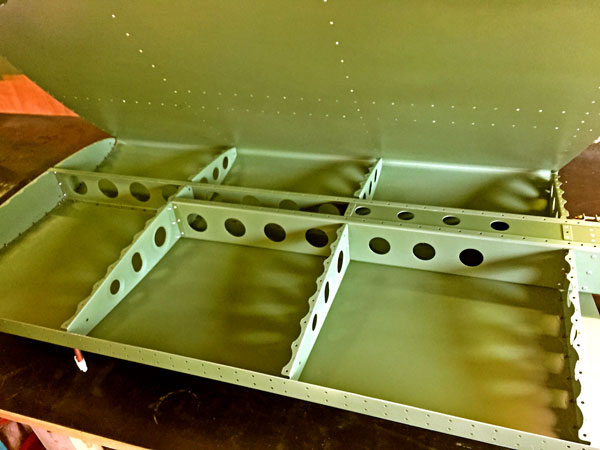
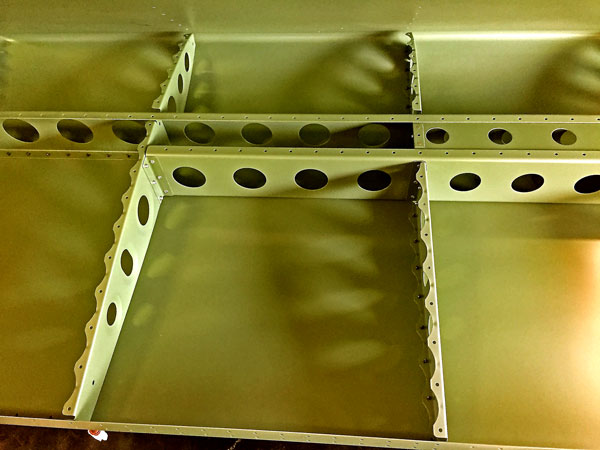
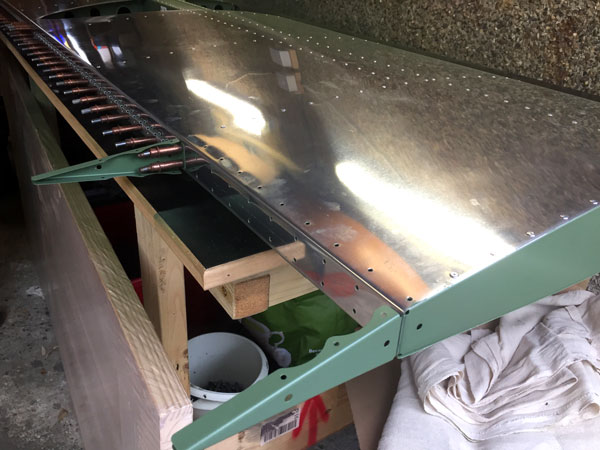
Trickiest part of assembling the horizontal stabiliser box spar is jigging the counterbalance arm correctly to allow accurate match drilling for the balance arm brackets.
This is done at 90 degrees to the final position of the brackets, otherwise the drill and bit would not clear the spar to allow a completely perpendicular hole to be drilled.
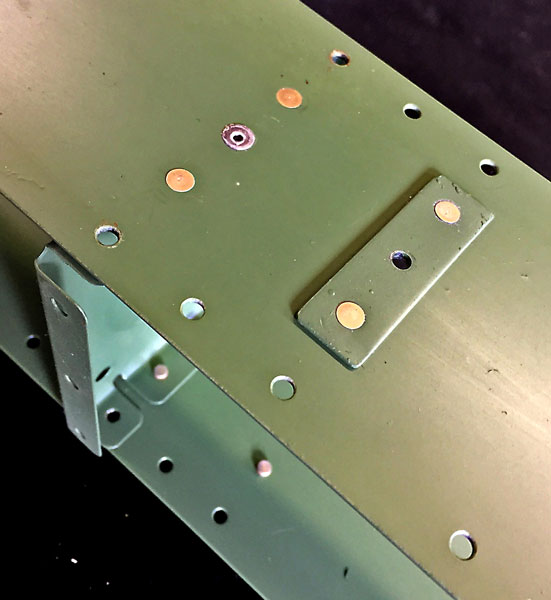
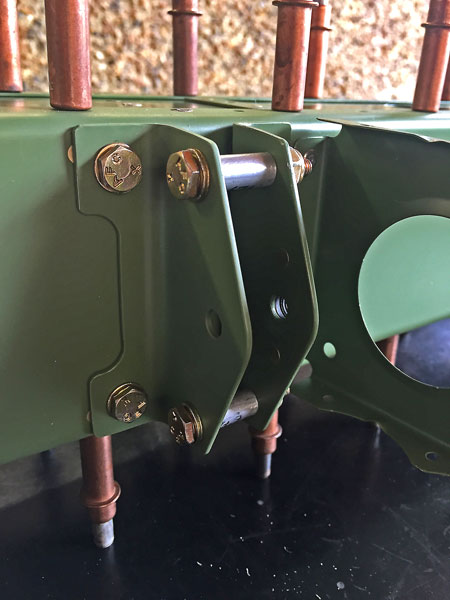
The HS hinge brackets were bolted to the spar using AN3 bolts and a Norbar TTi20 Torque Wrench, including an allowance to overcome friction. The specified torque is 20 to 25 in/lbs,
so we used 23 in/lbs plus 7 in/lbs equals 30 in/lbs for the bolts attaching the brackets to the spar into the nutplates. For the nylock nuts we used 23 in/lbs plus 5 in/lbs equals
28 in/lbs. We used a spring scale on a measured bar to get an idea of the force require to overcome friction.
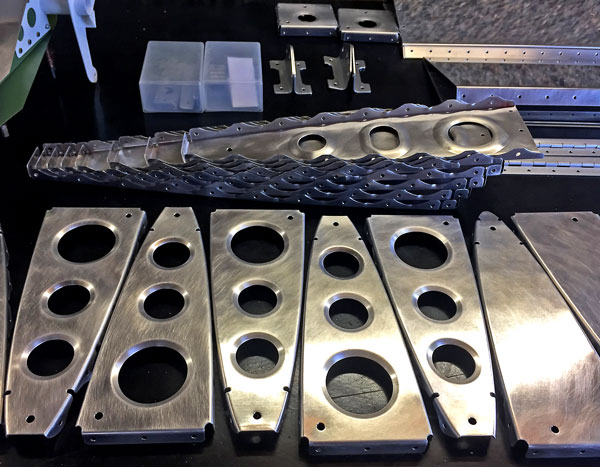
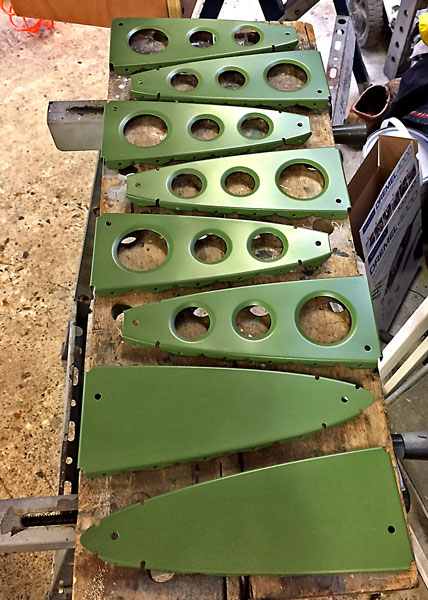
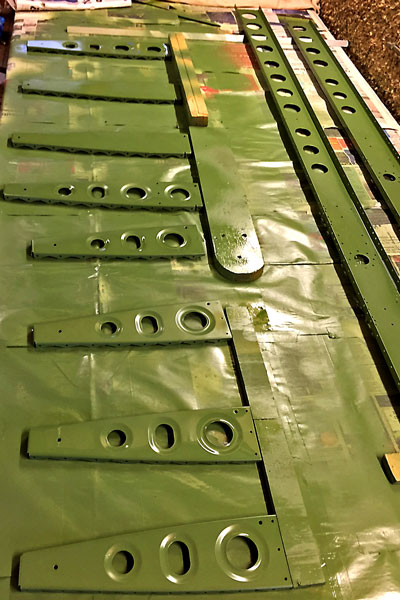
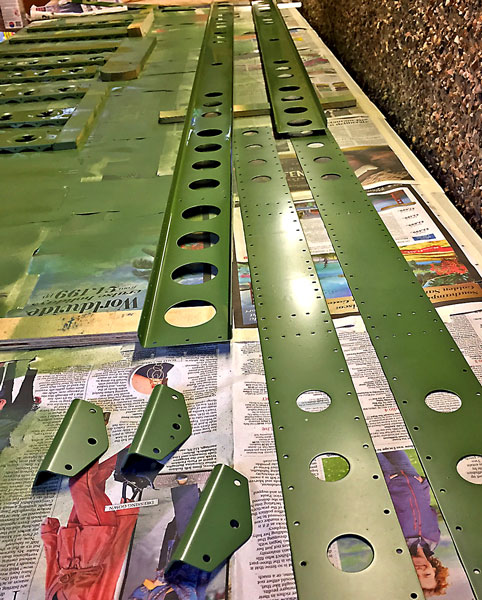
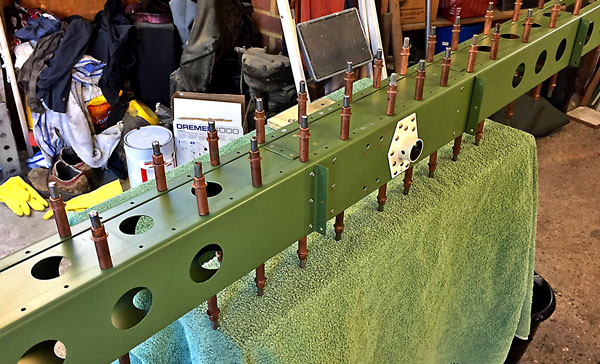
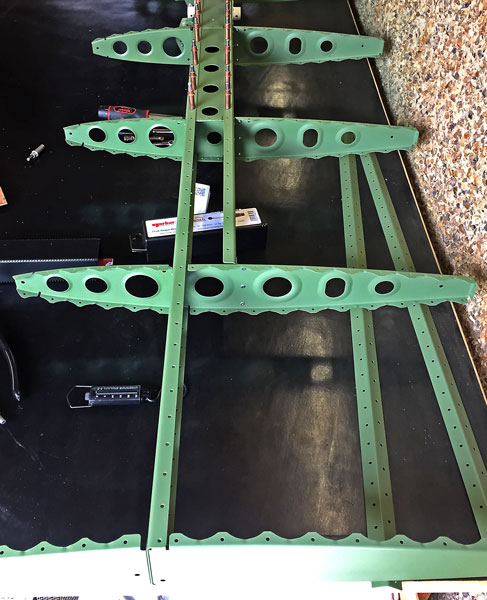
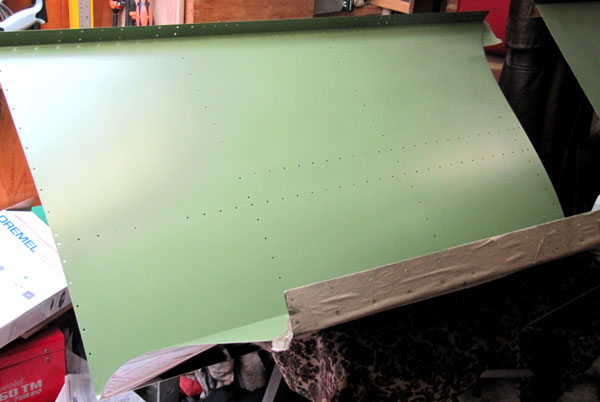
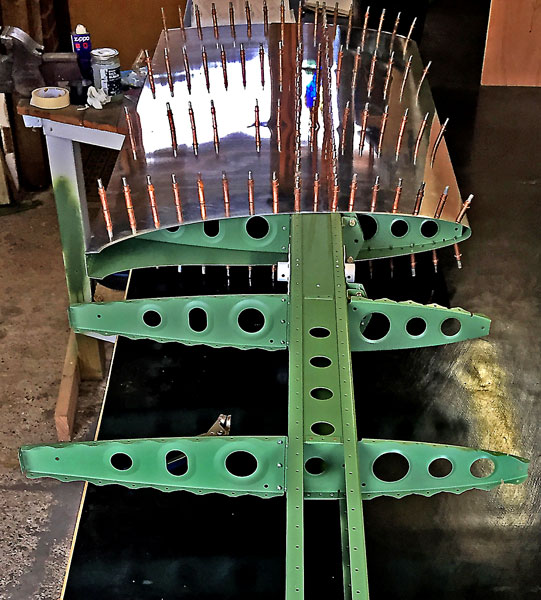
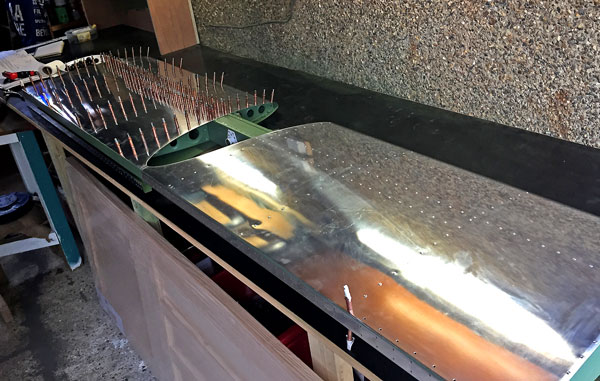
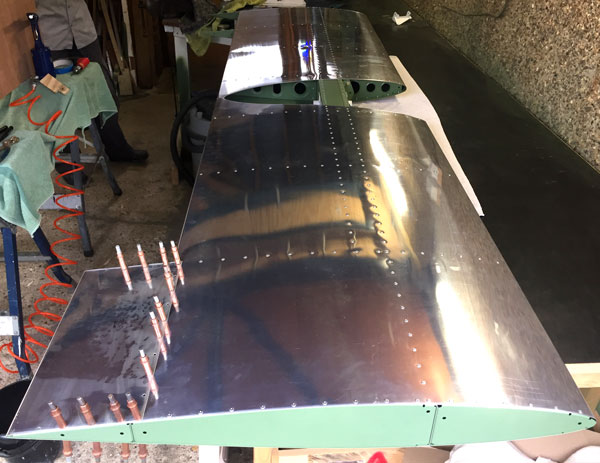
Next, all the skins were de-burred, scuffed, de-greased and primed. Fingerprints and overspray were cleaned off the outsides, paint runs were sanded out, and resprayed using the
rattle cans. Our inspector called (13 August 2017) to sign off the work so far before we covered it up by riveting on the skins.
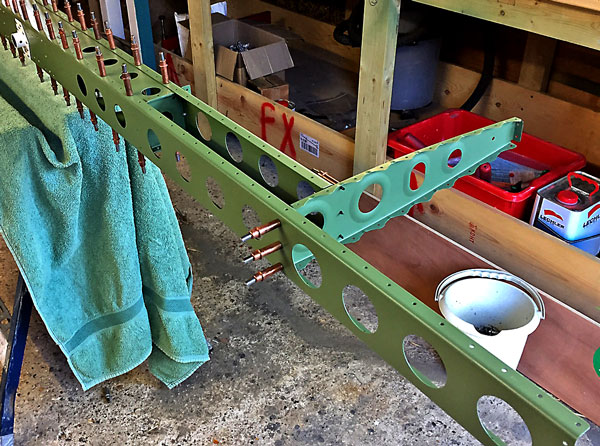
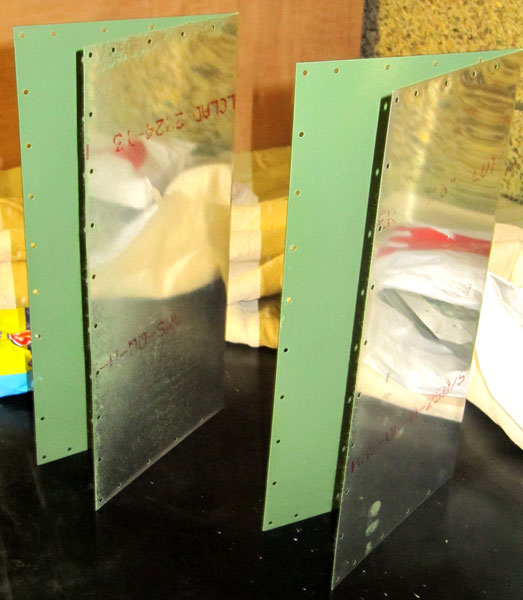
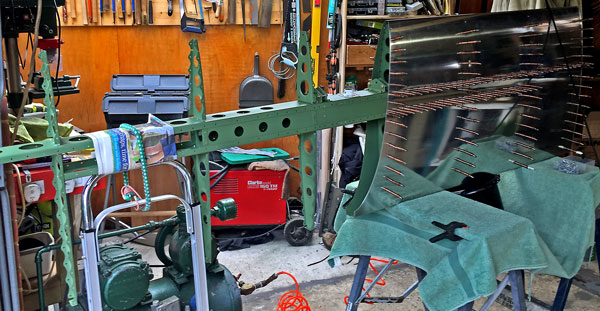
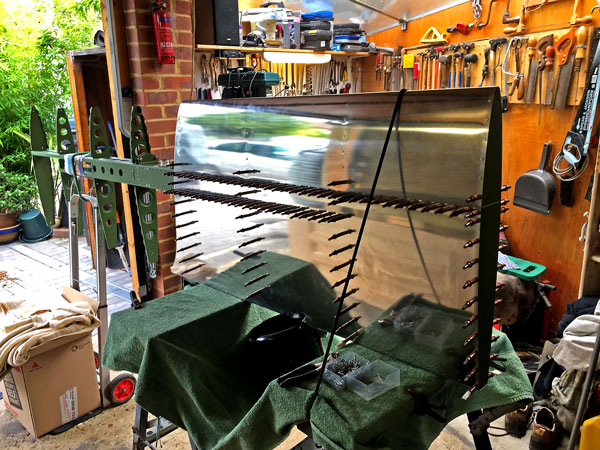
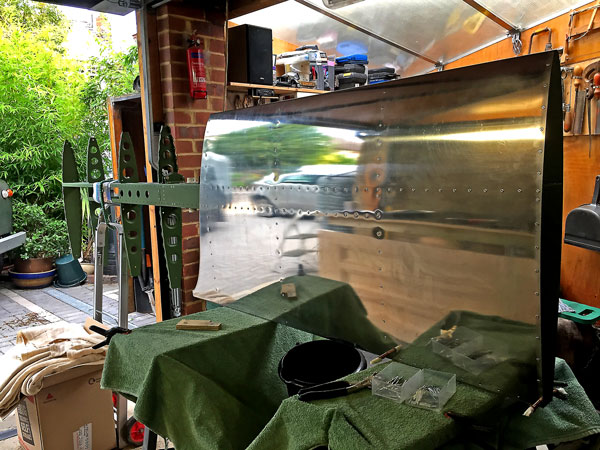
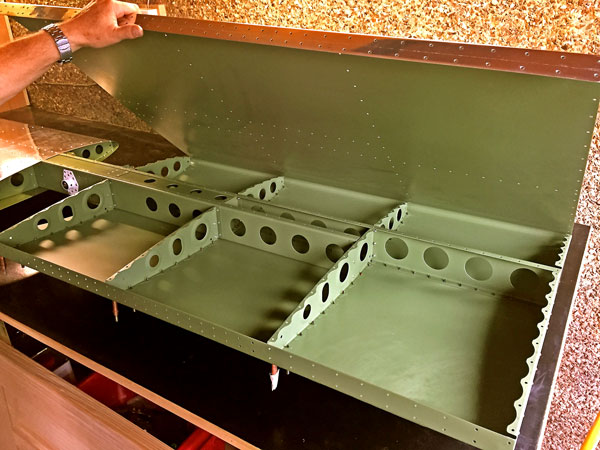
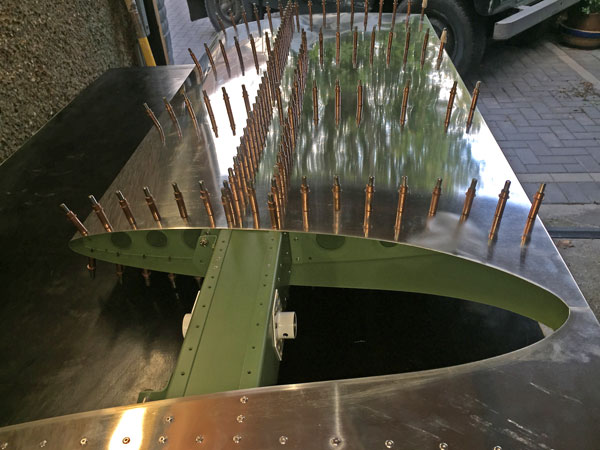
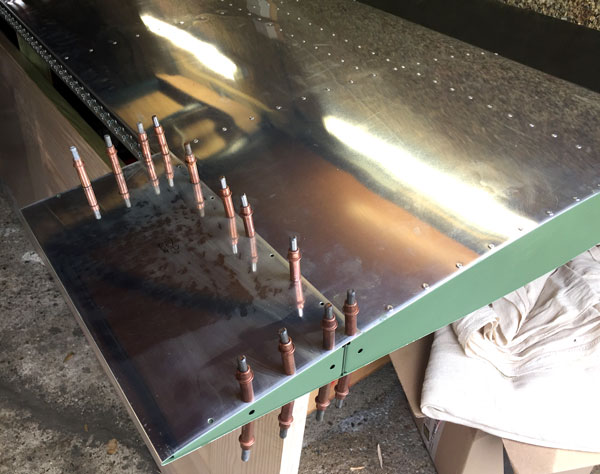
First we clecoed the left hand skin to the spar and rib structure, then jigged it vertically on work tables so one of us could insert rivets while the other was using the
rivet gun on the other side. A rhythm of passing the gun from one side to the other got the job done very quickly. The whole thing was then repeated on the right hand skin
after clecoeing on the right hand skin temporarily to check interferance where the two skins meet. A small amount had to be filed off the edge. We also discovered that the
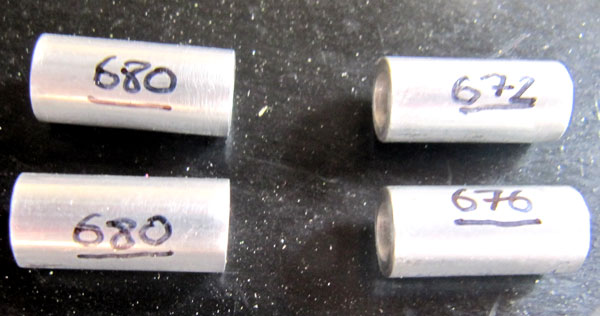
control horns were a very loose fit over the spar, and a google search confirmed that this was a problem several others had experienced, the solution being to make up shims
using 0.75mm aluminium sheet from the bundle of offcuts Vans included with the kit.
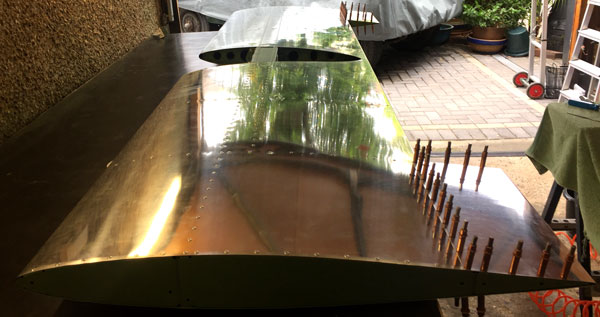
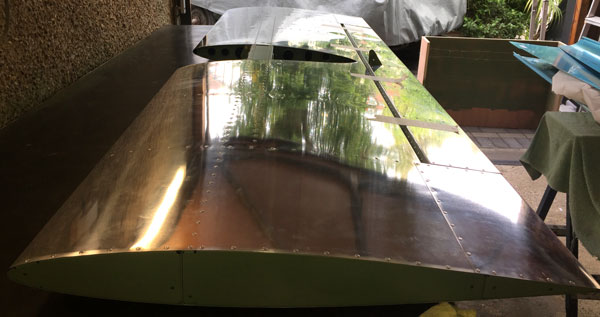
Horizontal Stabilizer completed 21/08/2017.
Woodies Aircraft Factory